To get the best slides for handheld projection with the LIGHT BLASTER, here are some simple guidelines.
Pretty much any image can be transferred to 35mm film. However, the level of sharpness and detail depends on the resolution of the image. Images grabbed from web pages are inherently low resolution and will be blurred when projected. But photographers using the LIGHT BLASTER will be creating their own images, so here is how to get the best results:
Basic principles
1. Black blocks light, white allows maximum light to pass.
In Photoshop create a black canvas and create your image on this. The avoids a hard rectangle being projected, and only your graphic is seen on the projected surface.
2. White is actually clear film – you don’t need to complicate things with using transparency in your saved image.
3. Always work in RGB, never in CMYK
4. For optimum sharpness set your canvas to 4096px x 2732px (you can set the DPI to anything, this value is ignored).
5. If you want to use vector graphics (great, optimal image sharpness at all times) then work in Illustrator, copy and paste the artwork onto your black canvas in Photoshop as a Smart Object.
6. When done, save your image in JPEG format, level 10 compression (or ‘high’ quality).
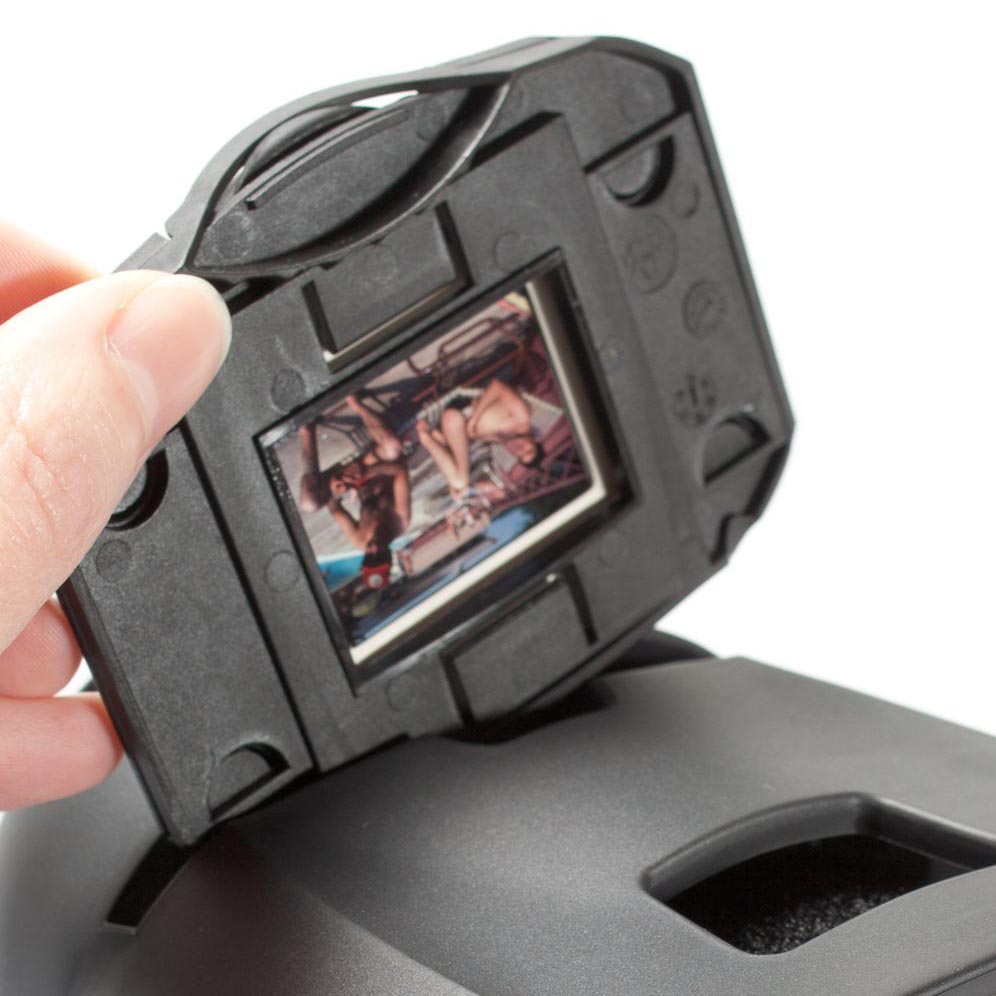
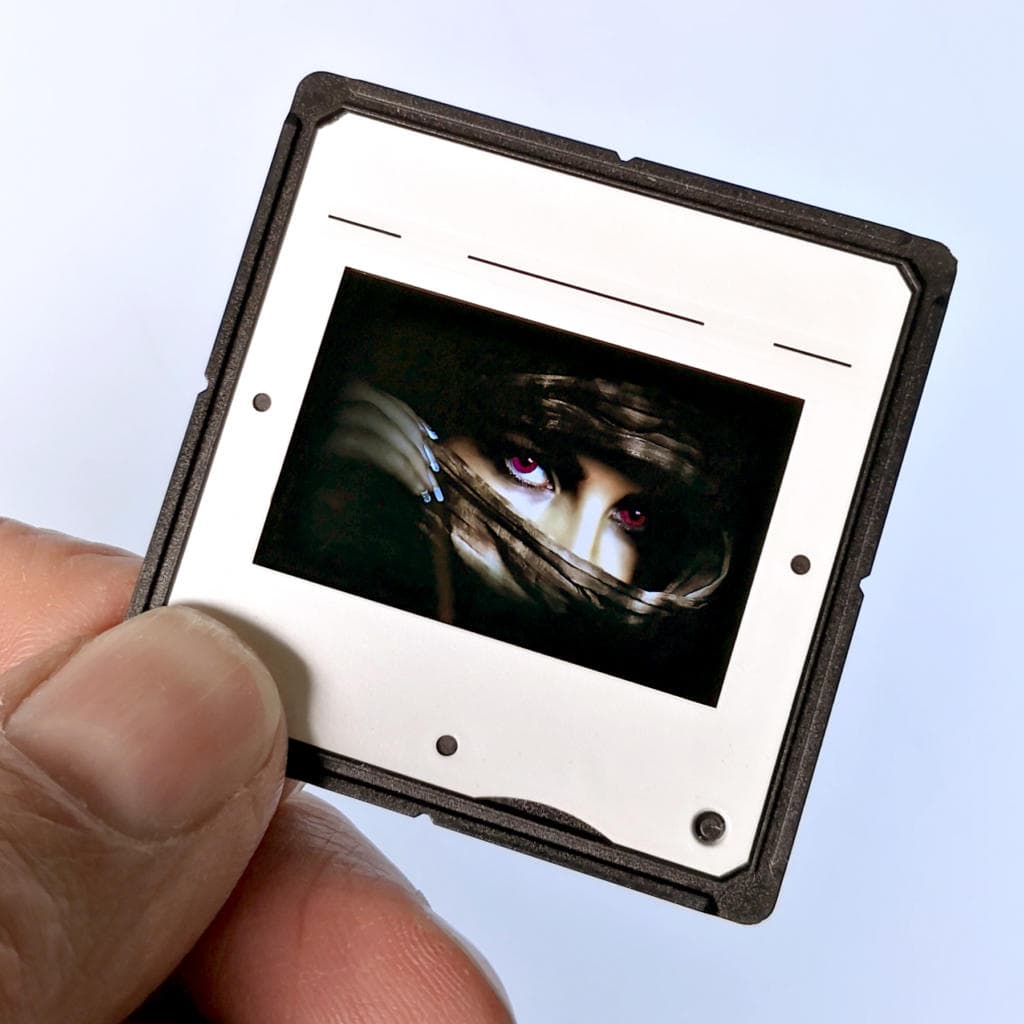
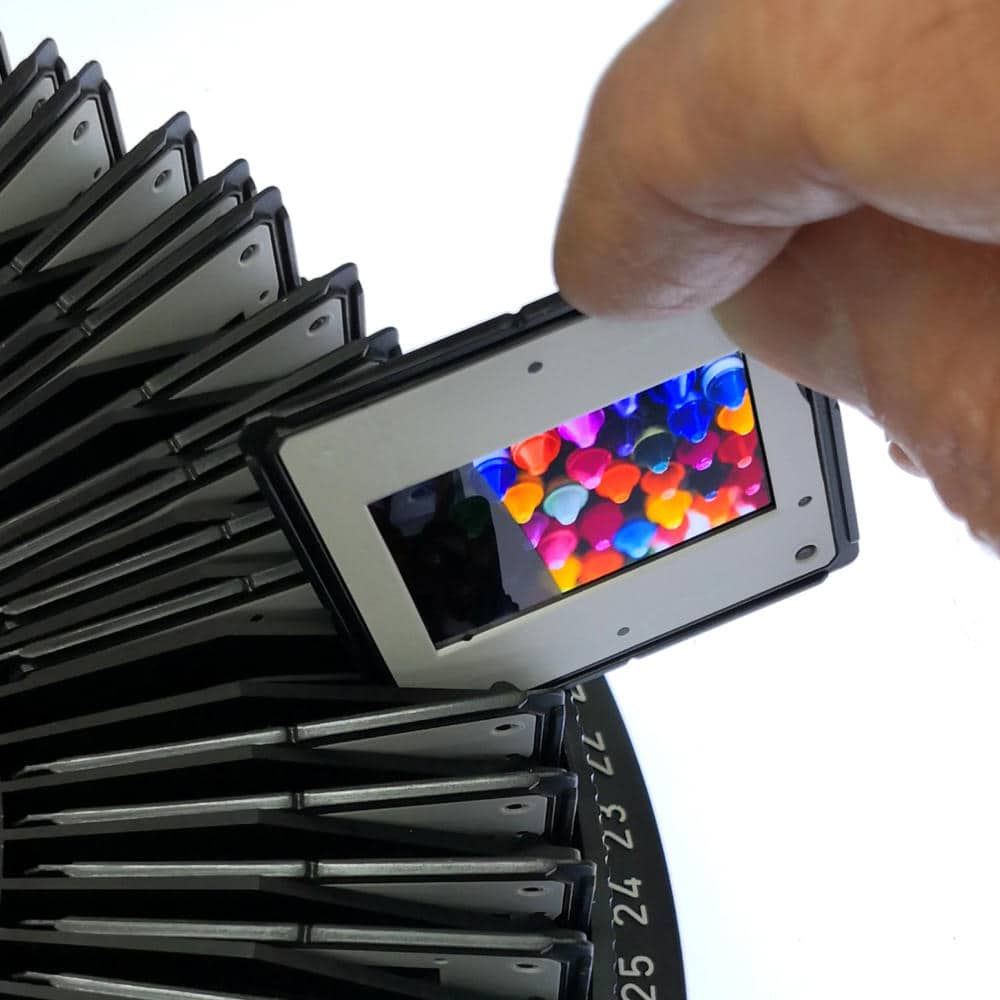
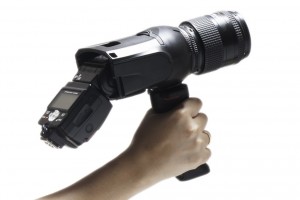 The 35mm photographic slides are supplied mounted in 1.7mm thick 7055 GePe glassless plastic slide mounts that are perfect for the Light Blaster film holder.